AdColony
AdColony is now deprecated.
With AdColony being deprecated, we recommend removing AdColony from your project.
apm uninstall com.distriqt.admob.AdColony
This documentation only applies to legacy versions of the extension.
This guide is intended for publishers who want to use the Google Mobile Ads SDK to load and display ads from AdColony through Open Bidding or waterfall mediation. It covers how to add AdColony ads to an ad unit's mediation configuration, and how to integrate the AdColony SDK and adapter into an AIR app.
Step 1: Set up AdColony
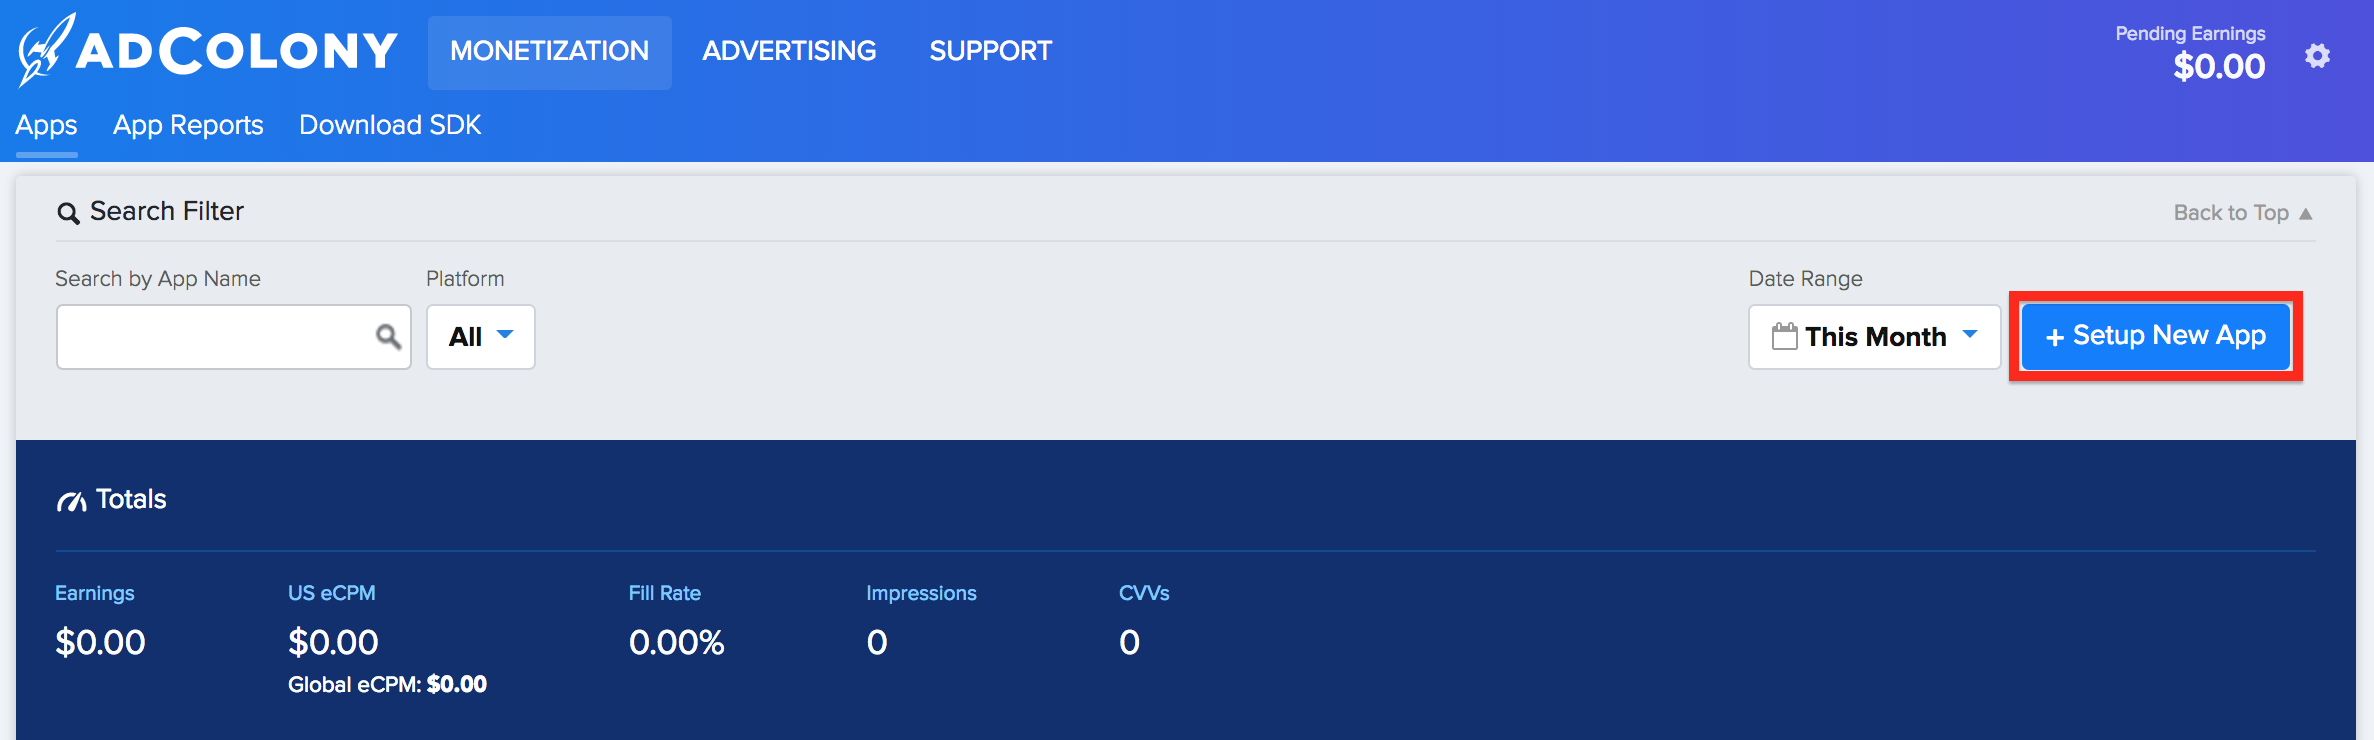
Sign up or log in to your AdColony account. Add your app to the AdColony publisher dashboard by clicking the Setup New App button.
Continue following the guide on the AdMob site:
Step 2: Configure mediation settings for your AdMob ad unit
Step 3: Import the AdColony SDK and adapter ANE
The simplest way to install and manage your AIR native extensions and libraries is to use the AIR Package Manager (apm). We highly recommend using apm, as it will handle downloading all required dependencies and manage your application descriptor (Android manifest additions, iOS info additions etc).
However you can choose to install it manually, as you would have done in the past.
Add the Extension
- APM
- Manual
Note: All of the commands below should be run in a terminal / command prompt in the root directory of your application, generally the level above your source directory.
If you don't have an APM project setup, expand the guide below to setup an APM project before installing the extension.
Setup APM
Install APM
If you haven't installed apm follow the install guide on airsdk.dev.
Setup an APM project
You will need an APM project for your application.
There are many ways to do this and for more options see the APM documentation. Here we will just initialise a new empty project:
apm init
Check your github token
We use github to secure our extensions so you must have created a github personal access token and configured apm to use it.
To do this create a token using this guide from github and then set it in your apm config using:
apm config set github_token ghp_XXXXXXXXXXXXXXXXXXXXXXXXXXXX
If you don't do this correctly you may find the install will fail.
Install the extension
Install the extension by running:
apm install com.distriqt.admob.AdColony
This will download and install the extension, required assets, and all dependencies.
Once complete apm will have created something like the following file structure:
.
|____ ane
| |____ com.com.distriqt.admob.AdColony.ane	# AdColony AdMob mediation extension
| |____ [dependencies]
|____ apm_packages							# cache directory - ignore
|____ project.apm							# apm project file
- Add the
anedirectory to your IDE. See the tutorials located here on adding an extension to your IDE.
We suggest you use the locations directly in your builds rather than copying the files elsewhere. The reason for this is if you ever go to update the extensions using apm that these updates will be pulled into your build automatically.
The following guide is used to manually install the extension, download dependencies and update the application descriptor. We highly recommend installing extensions using apm. Using apm will automate the installation and automatically handle updates and dependencies along with greatly simplifying the application descriptor generation.
The com.distriqt.admob.AdColony ANE includes the AdColony SDK and the AdMob AdColony mediation adapter. This is everything you need to get AdColony mediation working in your application.
To add the ANE download it from the repository and add it to your application:
More information on adding ANEs in this tutorial
Application Descriptor
- APM
- Manual
Updating your application descriptor will insert the required extensionID's and generate the manifest and info additions for your application.
You update your application descriptor by running:
apm generate app-descriptor src/MyApp-app.xml
Change the path (src/MyApp-app.xml) to point to your application descriptor.
This will modify your application descriptor replacing the manifest additions and info additions with the ones generated from apm.
You should backup your application descriptor before running this command to ensure you don't lose any information.
If you need to insert custom data into these sections see the guides for Android and iOS
Extension IDs
The following should be added to your extensions node in your application descriptor to identify all the required ANEs in your application:
<extensions>
    <extensionID>com.distriqt.admob.AdColony</extensionID>

	<!-- ADVERTS EXTENSIONS -->
	<extensionID>com.distriqt.Adverts</extensionID>
	<extensionID>com.distriqt.Core</extensionID>

	<extensionID>com.distriqt.playservices.Base</extensionID>
	<extensionID>com.distriqt.playservices.Ads</extensionID>
	<extensionID>com.distriqt.playservices.AppSet</extensionID>

	<extensionID>androidx.appcompat</extensionID>
	<extensionID>androidx.browser</extensionID>
	<extensionID>androidx.core</extensionID>
	<extensionID>androidx.constraintlayout</extensionID>
	<extensionID>androidx.vectordrawable</extensionID>
	<extensionID>androidx.room</extensionID>
	<extensionID>androidx.work</extensionID>
	<extensionID>com.google.code.gson</extensionID>
	<extensionID>com.jetbrains.kotlin</extensionID>
</extensions>
Android
If there is an assets directory alongside the extension in the repository that contains required assets for the installed extensions.
You must add the files in the assets/android folder to the root of your Android application package.
Manifest Additions
No additions required
iOS
If there is an assets directory alongside the extension in the repository that contains required assets for the installed extensions.
You must add the files in the assets/ios folder to the root of your iOS application package.
Info Additions
Add the following to your info additions. If you already have an SKAdNetworkItems then append the dict items to the array.
<key>SKAdNetworkItems</key>
<array>
    <dict>
        <key>SKAdNetworkIdentifier</key>
        <string>4pfyvq9l8r.skadnetwork</string>
    </dict>
    <dict>
        <key>SKAdNetworkIdentifier</key>
        <string>6g9af3uyq4.skadnetwork</string>
    </dict>
</array>
Also check each ad network partner's documentation for any additional SKAdNetworkIdentifier values that they require:
You should only have one SKAdNetworkItems entry. If you have multiple extensions adding these values you must combine them into a single array.
Step 4: Additional code required
No additional code required
Step 5: Test your implementation
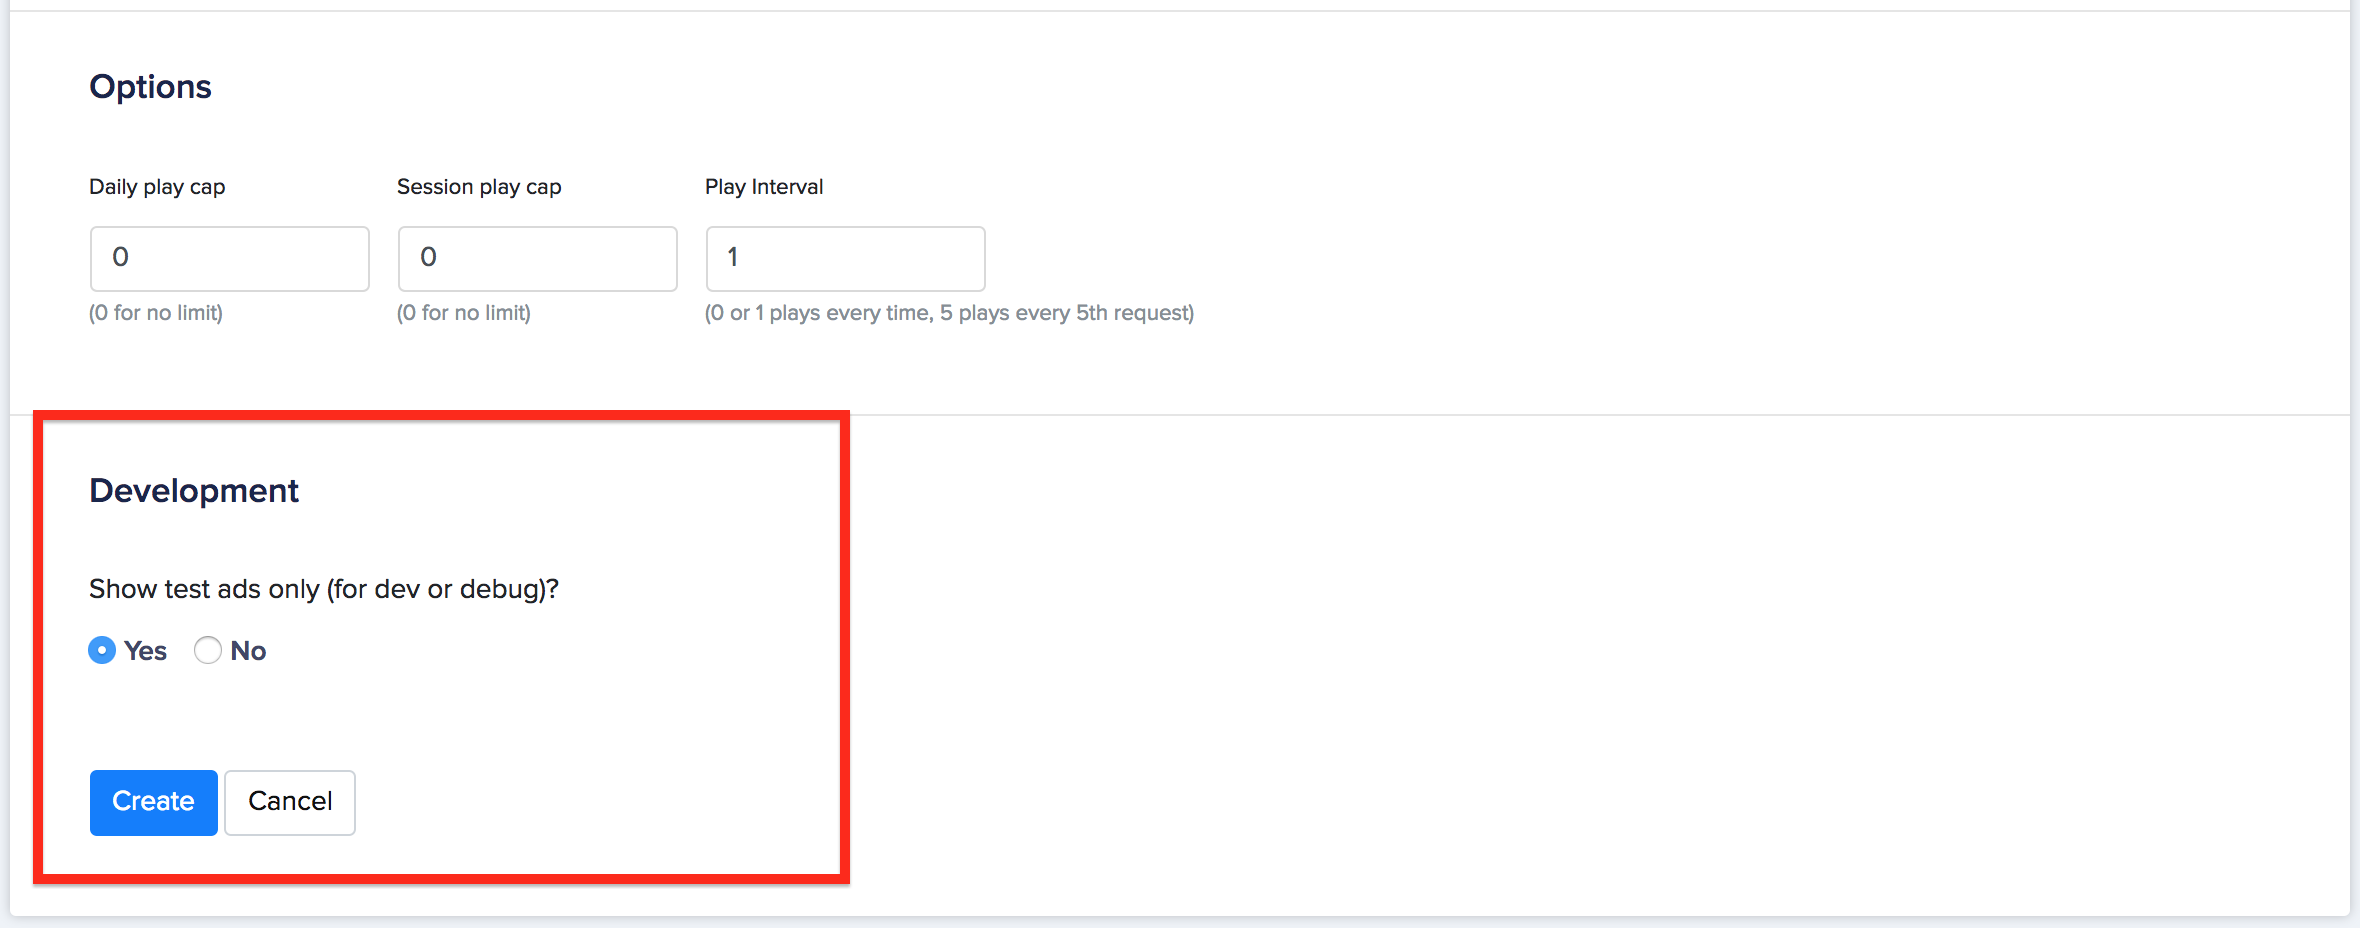
To enable test ads on AdColony, go to your AdColony dashboard and navigate to Monetization > Apps. Select your Zone for which you would like to enable test ads under the Ad Zones section of your app. Test ads can be enabled by checking Yes to Show test ads only? under the Development section.
Optional steps
EU Consent and GDPR
Under the Google EU User Consent Policy, you must ensure that certain disclosures are given to, and consents obtained from, users in the European Economic Area (EEA) regarding the use of device identifiers and personal data. This policy reflects the requirements of the EU ePrivacy Directive and the General Data Protection Regulation (GDPR). When seeking consent, you must identify each ad network in your mediation chain that may collect, receive, or use personal data and provide information about each network's use. Google currently is unable to pass the user's consent choice to such networks automatically.
The section below shows you how to enable or disable personalized ads for AdColony.
The AdColony adapter provides the AdColony.instance.getAppOptions() method to customize parameters to be sent to AdColony's SDK. Two methods relevant to GDPR on these options are setPrivacyFrameworkRequired() and setPrivacyConsentString(), added in AdColony SDK 4.2.0. The following sample code demonstrates how to pass these parameters to the AdColony adapter, which are then used in AdColony’s initialization method. These options must be set before you initialize mobile ads to ensure they get forwarded properly to AdColony's SDK:
AdColony.instance.getAppOptions()
        .setPrivacyFrameworkRequired( AdColonyAppOptions.GDPR, true )
        .setPrivacyConsentString( AdColonyAppOptions.GDPR, "1" );
See AdColony’s GDPR implementation details for more information about what values may be provided in these methods.
Permissions
For optimal performance, AdColony recommends adding the following optional permissions to your app's manifest additions:
<uses-permission android:name="android.permission.WRITE_EXTERNAL_STORAGE" />
<uses-permission android:name="android.permission.VIBRATE" />
Further information
See the Google AdColony Mediation guide:
https://developers.google.com/admob/android/mediation/adcolony